
How to Mute a Video: Top 5 Methods to Try

Use Movavi Video Editor!

  • NEW: Adjustable video templates for any vibe – made of Blocks

  • NEW: Blocks – pre-edited video segments you can customize

  • Fast and easy editing: cut, crop, adjust colors and speed

  • Auto subtitles, noise removal, hundreds of effects, and more

By clicking the download button, you're downloading a trial version of the program.*

Edited by
Ben Jacklin
4,621

A travel vlog with copyrighted music playing underneath. A screen recording that needs fresh narration instead of the room noise it picked up. A highlight clip carrying someone else's in-game soundtrack. None of these need a reshoot. They just need a way to remove audio from a video without touching the picture. Here's how to mute a video five different ways. Use Movavi Video Editor if you plan to swap in new sound afterward. Use Clideo for a single file when you don't want to install anything. Use CapCut for a short, vertical clip. Use iMovie if you're already on a Mac or iPhone. Use Shotcut if you want a free, open-source option and don't mind doing the steps by hand.

Best methods to remove audio from a video

Best for: creators who want to mute a clip and then build something new in its place, in the same project.

Price and platforms: Windows and macOS. The free version comes with a 60-second export cap, 1080p output, and a watermark; the full version drops those limits for $19.95/month.

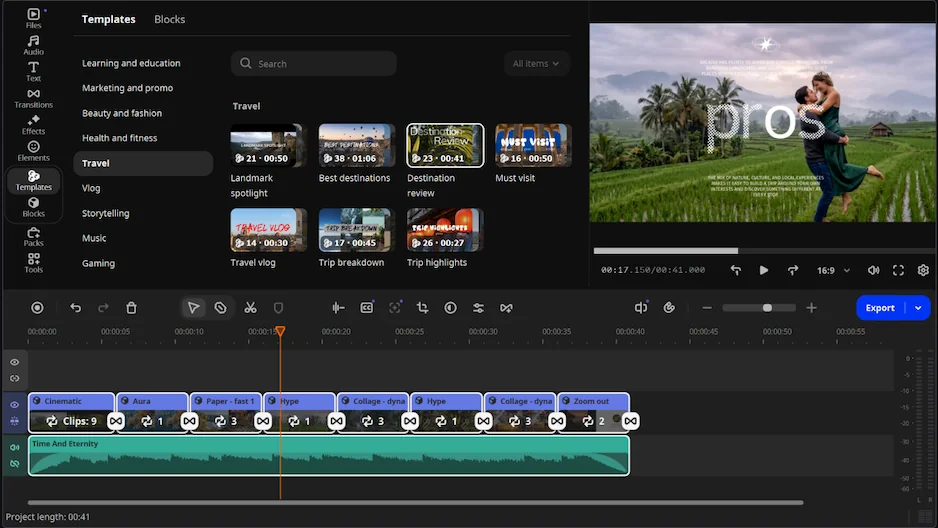
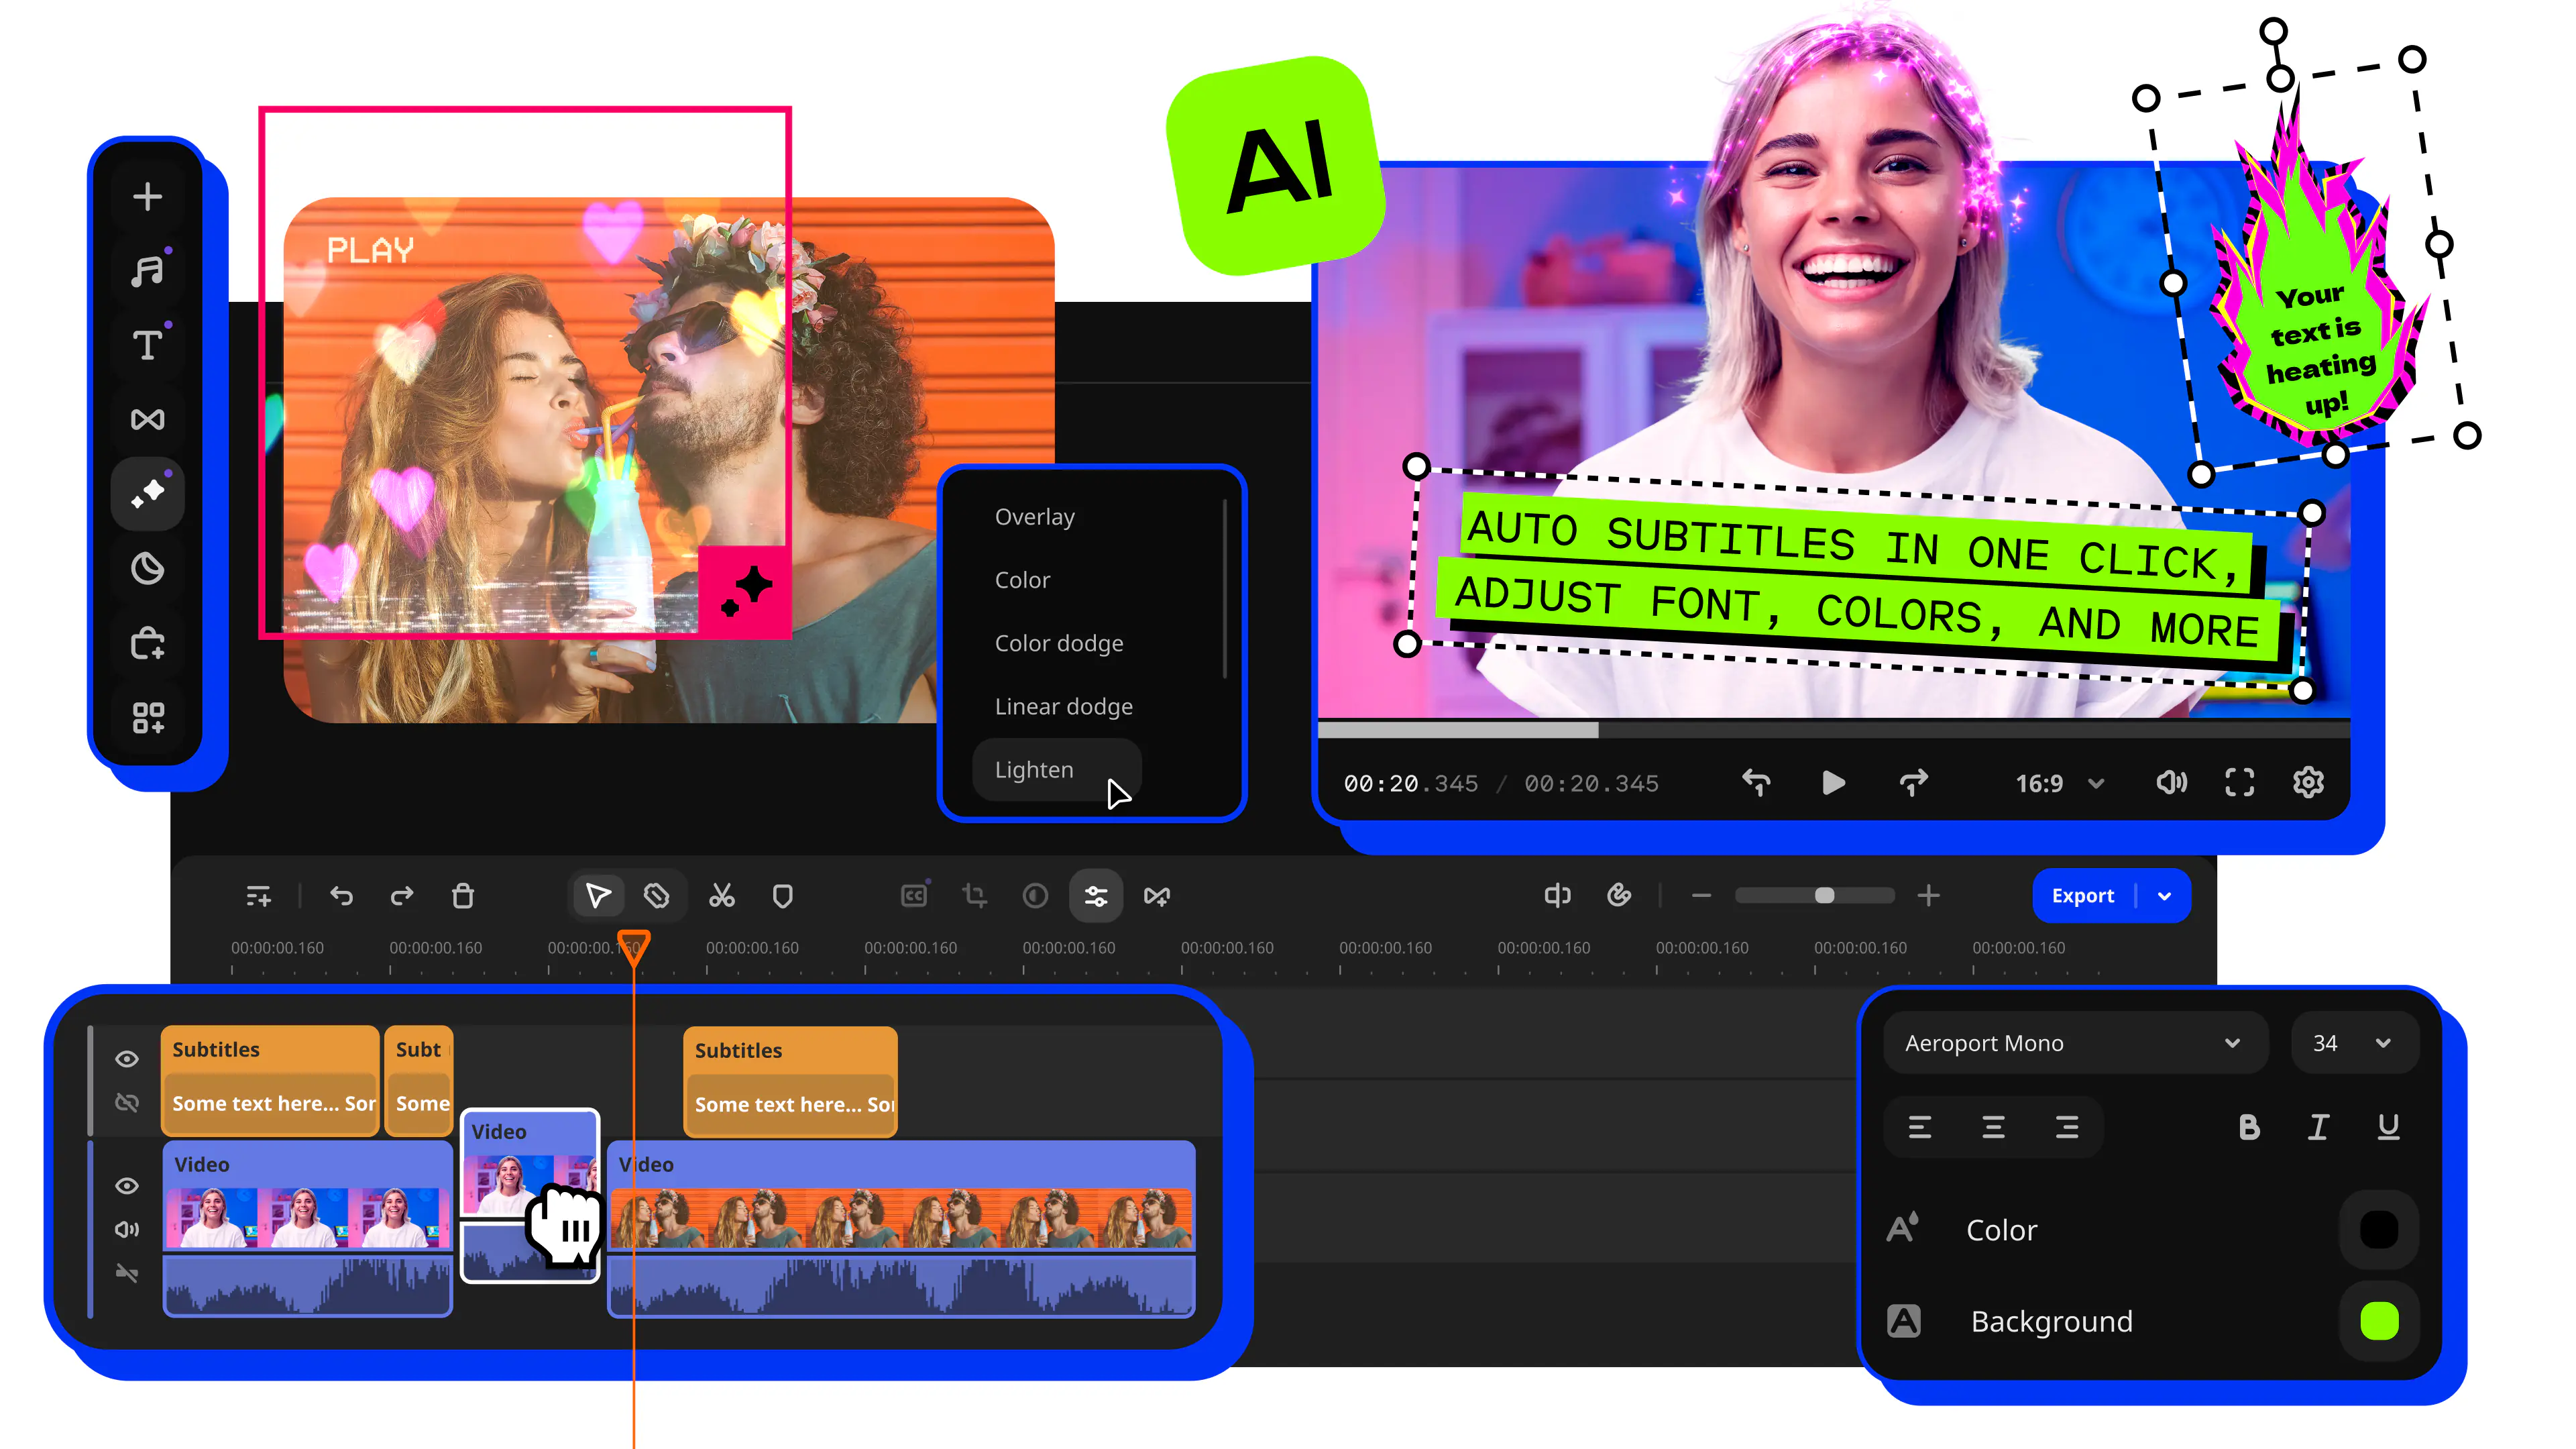
Movavi Video Editor is an intuitive video editor with customizable video templates, one-click AI tools, and hundreds of drag-and-drop effects. It's a desktop app for Windows and macOS, and it's designed for beginners and everyday creators, so the extra step of muting a track doesn't mean learning a second, more complicated program. You can also use Movavi Video Templates – a multi-style library of customizable, pro-looking, modular templates for any kind of video. So a newly muted clip from an unboxing or travel vlog can go straight into a ready-made design instead of a blank timeline.

The program is simple and fast by design: a beginner gets a usable edit on the first try instead of hunting through a professional-grade interface. More than 70 million people already edit with Movavi Video Editor across 190+ countries, so this mute-and-replace workflow is well-worn ground. Picture a product demo recorded for work, with room noise that needs to vanish before new narration goes on top. Per-clip volume control brings that track down to silence without pulling the clip off the timeline, and the Detach audio option is the exact menu path if you'd rather detach the audio track for good instead. Either route leaves the video itself untouched. When the track isn't headed for total silence but still needs cleanup, the AI audio noise removal tool strips out background hum, traffic, or wind in one click while the voice stays clear – rated for about 95% noise reduction. That's AI that actually saves time: one click instead of a manual noise-reduction pass.
How to mute a video in Movavi Video Editor

Step 1. Install the program

Download and install Movavi Video Editor on your PC or Mac.

Step 2. Upload files

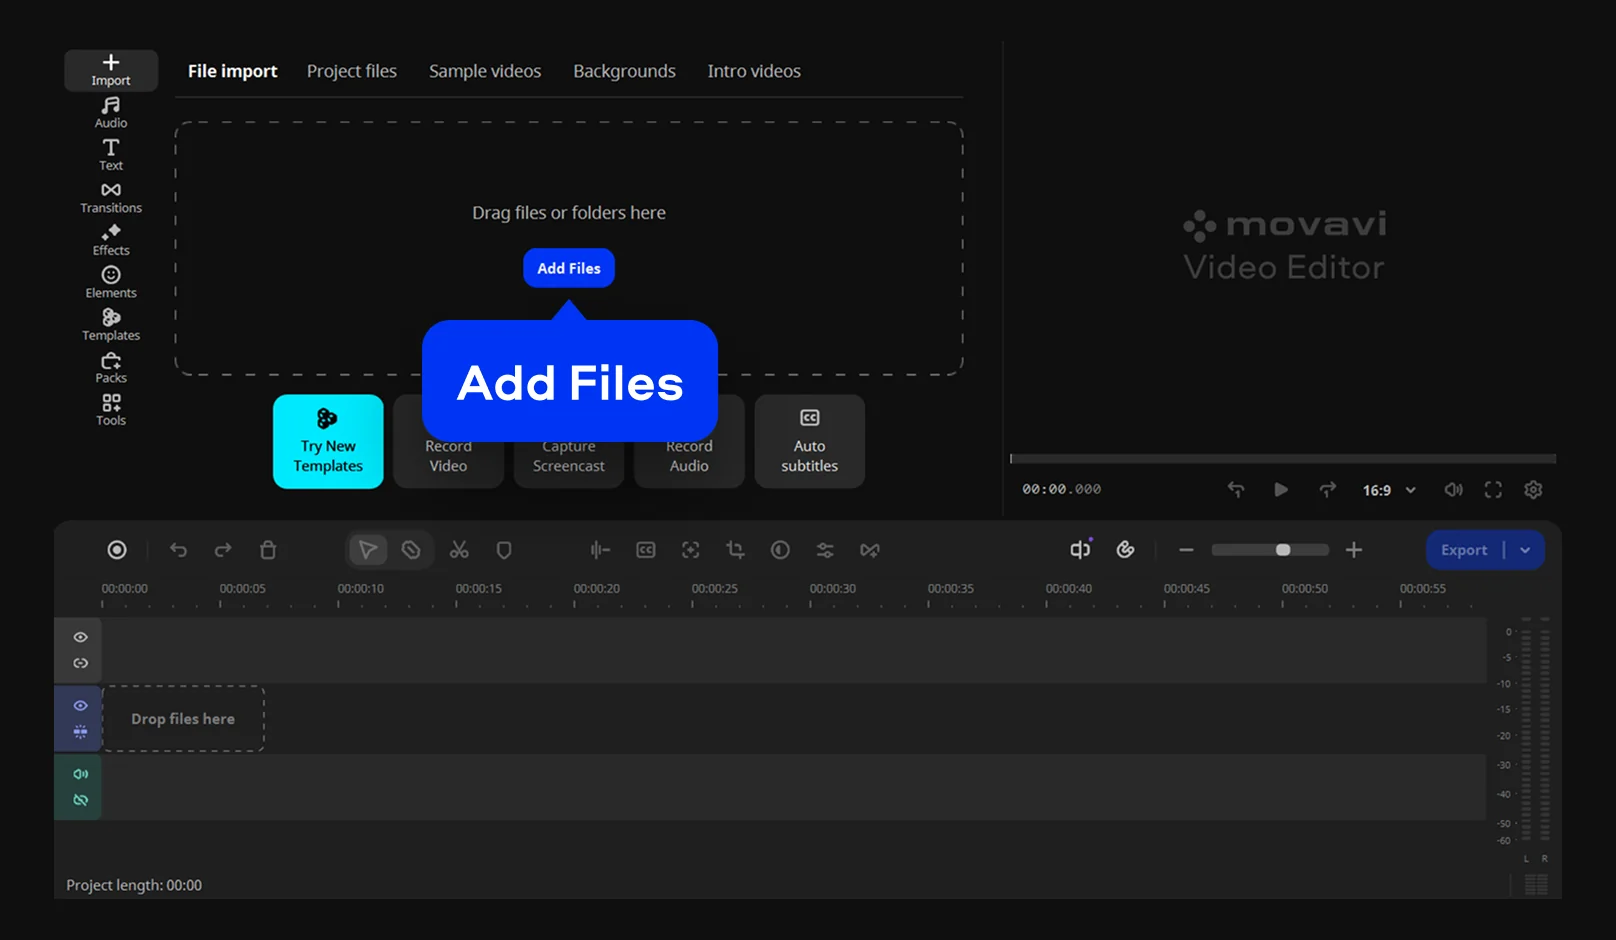
Click Add Files, import your clip, and drag and drop it to the timeline.

Step 3. Mute the video

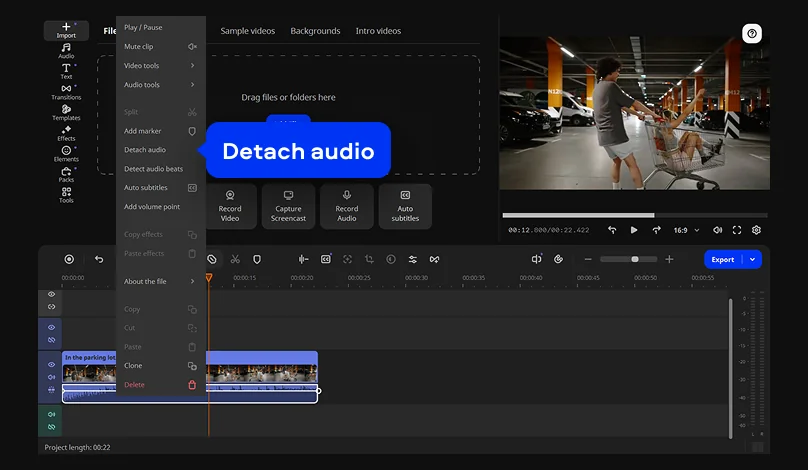
Select the audio track on the timeline, right-click it, and choose Detach audio. Then, click directly on the audio track to select it (just the audio, not the whole clip). Press Delete on your keyboard. The sound is gone; the video track above it is untouched.

Step 4. Add new sound (optional)

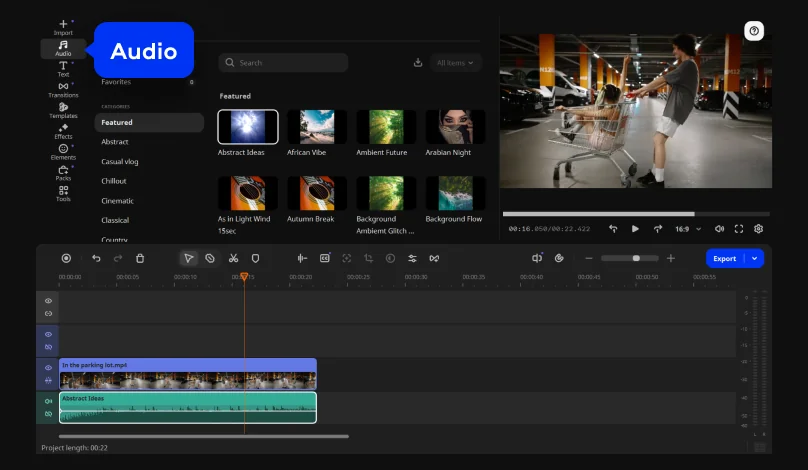
Click Add Files again, pick your replacement track, and drag it down onto the empty Audio track beneath the video. Or you can use music from the built-in Audio library.

Step 5. Export your video

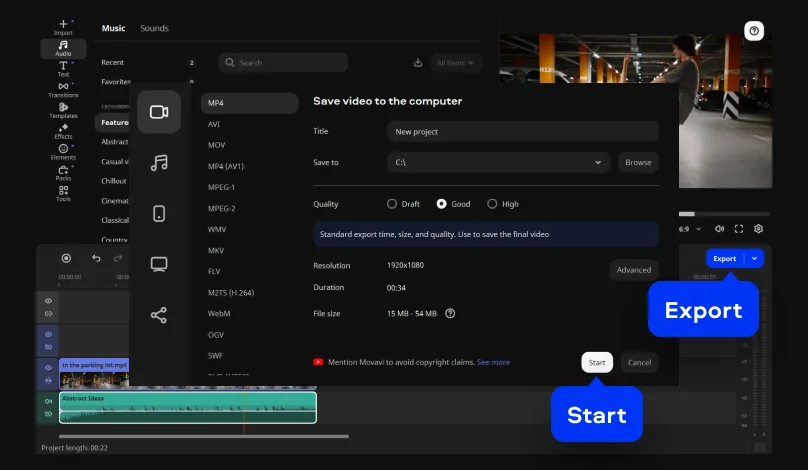
Preview the result, then click Export to pick a format and save the file.

Pros:
  • The full editing toolset and the mute/detach workflow live in one app, so there's no export to a second tool

  • Plans run from a free tier to a one-time full-version upgrade rather than a single fixed subscription

  • Hundreds of built-in effects and copyright-free music are included before any add-on purchase

Cons:
  • Lacks the advanced, detailed controls a professional audio editor would expect

  • No flexible UI customization

2. Clideo

Best for: a single clip and a single job, with nothing to download.

Price and platforms: works in any browser. The free tier is watermarked (500 MB / 720p cap, 10 AI credits); Pro removes the watermark and limits and adds 500+ AI credits for $9.

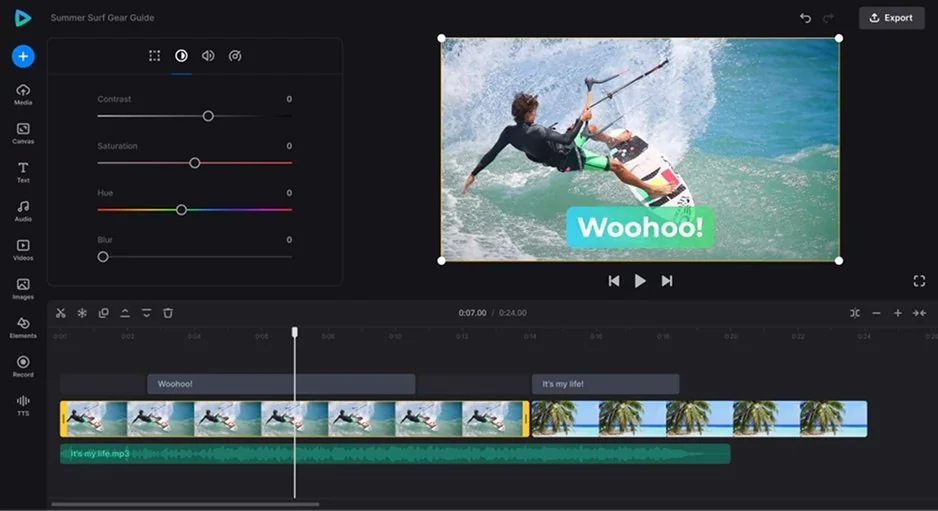
Clideo is a collection of 30+ separate web utilities covering tasks like trimming, merging, compressing, and converting video, aimed at one-off jobs in the browser with no software install required. Clideo carries a dedicated audio-removal/mute tool among its 30+ utilities. The workflow matches its other tools: upload the file, wait for processing, download the result without the learning curve involved.

How to remove sound from a video in Clideo

  1. Open Clideo’s mute/remove-audio tool in your browser.
  2. Click Choose file (or drag the video in); you can also pull a file in from Google Drive or Dropbox.
  3. Click Remove Sound, then wait while it processes.
  4. Preview the muted version on the page.
  5. Click Download, or send it straight to Drive/Dropbox if you’d rather skip the download step.
Pros:
  • Nothing to install, works from any device with a browser

  • Quick for a single task, no need to open a full editor

Cons:
  • No unified timeline, so a second edit on the same clip means reaching for a second separate tool

  • Minimal built-in effects or music – creative editing isn't the focus here

  • The free tier is watermarked, capped at 500 MB, and limited to 720p

3. CapCut

Best for: short, vertical clips bound for TikTok, Reels, or Shorts.

Price and platforms: mobile, desktop, and browser. The free tier exports at 1080p but adds a watermark on Pro content or AI clips; Pro adds 4K and the full AI toolkit through credits, starting at $19.99.

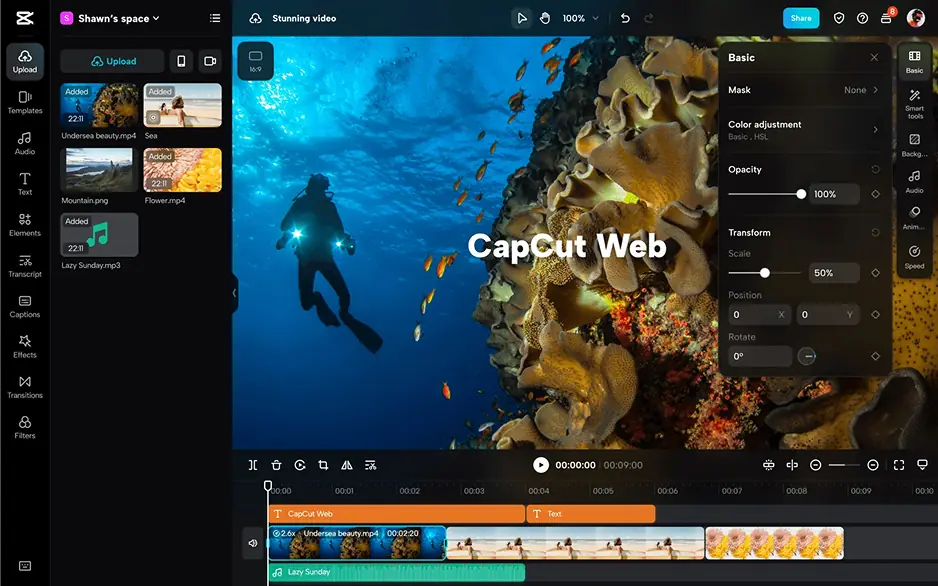
CapCut is a mobile-first editor built around short, trending videos and tied into the TikTok ecosystem, spanning mobile, desktop, and browser. That cross-platform spread matters when you're pulling a copyrighted in-game soundtrack off a highlight reel before it lands on YouTube or TikTok – the edit can start on a phone and finish at a desk. CapCut's audio editing runs on precise, adjustable settings with an overall AI focus.

How to mute a video in CapCut

  1. Open CapCut, start a new project, and import your clip.
  2. Tap the clip to add it to the timeline.
  3. Tap the clip again to select it – a toolbar appears along the bottom.
  4. Tap the volume icon in that toolbar.
  5. Drag the slider all the way to 0 (or use the dedicated mute toggle if your version shows one).
  6. Tap the checkmark to confirm, then play it back to check it’s silent.
  7. Tap Export in the top-right corner.
Pros:
  • Minimal learning curve for short vertical content

  • Cross-platform, so a project can move between phone and desktop

  • A large, trend-driven template library for fast turnarounds

Cons:
  • Some effects and templates that used to be free now carry a "Pro" label and require a subscription

  • AI features run on a credit system, so they can run dry mid-project

  • Some features and content require an internet connection and an account

4. iMovie

Best for: Mac and iPhone owners after a completely free option with no watermark.

Price and platforms: macOS and iOS only. Completely free, with no watermark or limits.

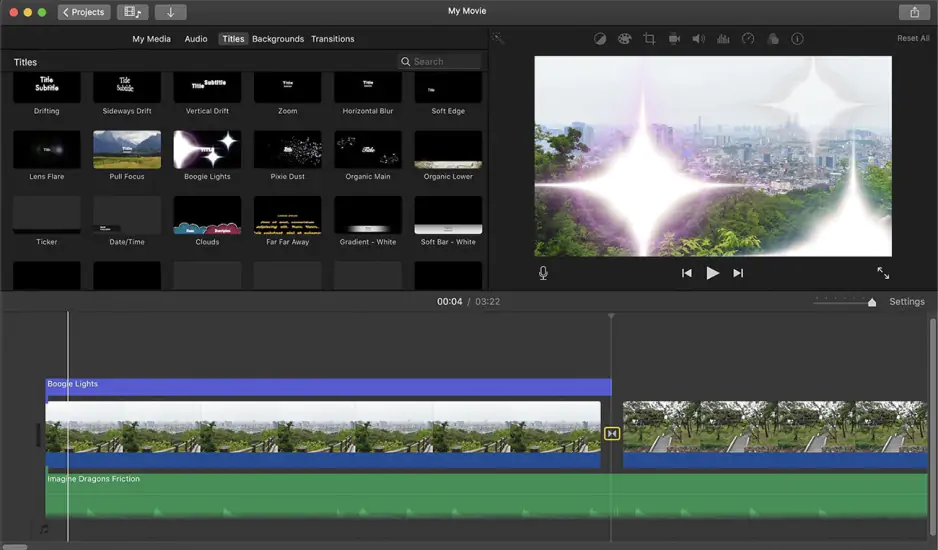
iMovie is Apple's free, simple editor, preinstalled on its own devices and aimed at Mac, iPhone, and beginner users. Users don’t need to download anything or create an account at any stage. The app is available completely free of charge for all devices.

How to mute a video in iMovie

  1. Open iMovie and load your project, or drop your clip into a new one.
  2. Click the clip on the timeline so it’s selected (highlighted with a border).
  3. Open the Modify menu in the toolbar.
  4. Choose Volume, then select Mute Video – the clip’s audio is silenced immediately.
  5. Repeat for any other clips that still have sound.
  6. Click Share to export.
Pros:
  • Zero cost, with no watermark or time limits

  • Already sitting on the device for most Mac and iPhone owners

Cons:
  • Limited to Apple hardware

  • Almost no AI features

  • A modest effects library and weaker export control than a dedicated editor

5. Shotcut

Best for: tech-savvy users on a budget who want full manual control.

Price and platforms: Windows, macOS, and Linux. Completely free and open-source.

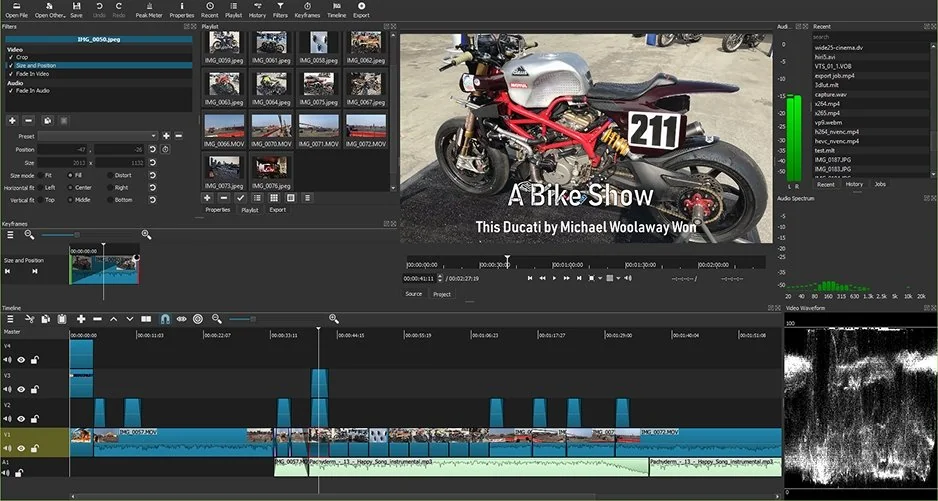
Shotcut is a free, open-source editor with an old-school interface and no AI, built for people on a budget who don't mind handling routine work – subtitles, noise, cropping – by hand.

How to mute a video in Shotcut

  1. Add your clip to a track on the timeline.
  2. To mute the whole track at once: click the small speaker icon in that track’s header, on the left edge of the timeline – the waveform grays out.
  3. To mute just one clip: select it, open Properties > Audio, and set Track to None. This disables the sound without deleting anything, so it’s easy to reverse.
  4. To remove the audio permanently: right-click the clip, choose More > Detach Audio (this splits the sound onto its own track), then click that new audio clip and press Delete.
  5. Export via File > Export File.
Pros:
  • Zero cost, with no watermark

  • A genuine multitrack timeline for manual control

  • Cross-platform, Linux included

Cons:
  • A dated, old-fashioned interface next to newer editors

  • No AI tools to speed up routine work

  • Minimal built-in effects and music

How to choose

Tool

Speed

Quality of result

Complexity

Price

Movavi Video Editor

A few clicks on the timeline

Free export caps at 1080p and 60 seconds with a watermark; the full version removes both

Low – an intuitive interface built for beginners

Free to try; full version removes the cap for $19.95/month

Clideo

Fastest of the five – one upload, one click, done

Free tier caps at 720p and 500 MB; Pro removes both

Lowest – a single-purpose page, no timeline to learn

Free with a watermark; Pro at $9

CapCut

Fast – built for quick turnarounds on mobile or desktop

1080p on the free tier; 4K on Pro

Low for muting one clip, though the wider AI toolkit is deep if you explore it

Free, with a watermark on Pro content or AI clips; paid tiers from $19.99

iMovie

Fast – already installed, a couple of menu clicks

No stated resolution cap, but export control is limited next to a dedicated editor

Low – built for beginners

Completely free

Shotcut

Slowest of the five – several manual routes, no one-click shortcut

No stated cap or watermark

Highest – an old-school interface with everything set by hand

Completely free

If you're already editing in a full program and want to swap the muted clip for new music or a fresh voiceover without switching apps, stay in that editor – Movavi Video Editor if that's what's open. If it's one clip and you don't want to install anything, a browser tool like Clideo is the faster route. For short vertical clips bound for TikTok, Reels, or Shorts, CapCut keeps you in the app you're probably editing in already. On a Mac or iPhone with no budget at all, iMovie is already sitting on the device. And if you want complete manual control and don't mind a dated interface, Shotcut is free on Windows, macOS, and Linux alike.

Once the old track is gone, the real decision is what takes its place – a fresh voiceover, a licensed track, or nothing at all. If you're already in Movavi Video Editor, that's a drag-and-drop effect or a template away. Short on inspiration for what to put there? Movavi Ideas publishes a new editing trick every week, free, right on the Movavi site.

Movavi Video Editor
Create awesome videos easily

*The free version of Movavi Video Editor may have the following restrictions depending on the build: watermark on exported clips, 60-second video or 1/2 audio length limit, and/or some advanced features unavailable when exporting videos.

Frequently asked questions

Can I remove audio from an MP4, MOV, AVI, or MKV file?

Yes – Movavi Video Editor imports and exports MP4, MOV, AVI, MKV, and WMV, so any of these formats can go through the same mute-and-replace workflow.

Can I silence the background music but keep my own voiceover?

A blanket mute takes out everything on the track, voice included. To keep the voice and only cut the noise or music bed around it, that's a separate job for a tool built for it. Movavi's AI audio noise removal strips out background hum or ambient noise while keeping the primary voice intact, though that's not the same as isolating and removing one specific music track.

Do I need video-editing software, or can I do this online?

Either works. A browser tool handles a single file with nothing to install, which covers a one-off job fine. A desktop video-editing tool earns its place once you're already cutting, cropping, or color-correcting the same clip – no advanced skills required, even for someone picking up an editing tool for the first time.

Have questions?
If you can’t find the answer to your question, please feel free to contact our Support Team.
Join us for discounts, editing tips, and content ideas

1.5M+ users already subscribed to our newsletter

By signing up, I agree to receive marketing emails from Movavi and agree to Movavi's Privacy Policy.